
Uncategorized
How to Replace a Vape Coil: A Step-by-Step Guide

Jun
How to Replace a Vape Coil: A Step-by-Step Guide
The coil is one of the most important components of your vape, directly influencing the vapor production and flavor quality. Over time, the coil can degrade and affect your vaping experience. Replacing the coil regularly is essential for maintaining the best performance. This article will guide you through the process of replacing your vape coil, with all the steps and important tips.
Step 1: Preparation
Before you start replacing the vape coil, ensure you have the necessary tools and materials ready:
- New Coil: Choose the right coil based on your vape model. Ensure it matches the specifications.
- Cotton Swab or Tissue: For cleaning.
- Screwdriver or Tool Kit (if needed): Some vapes may require tools to remove the coil.
Step 2: Clean Your Vape
Before replacing the coil, it’s important to clean your vape thoroughly. Use a cotton swab or paper towel to wipe out any e-liquid residue inside the vape. This ensures that the new coil works efficiently without any leftover liquid that could affect the flavor.
Step 3: Disassemble the Vape
Locate the coil section in your vape. The coil is usually found at the bottom or top of the device, depending on the model. Use a screwdriver or follow the instructions in your vape’s manual to carefully remove the old coil.
Step 4: Coil Replacement
Remove the old coil and dispose of it properly. Take the new coil and make sure it matches the specifications of your device. Install the new coil carefully, ensuring it is securely attached and not loose.
Step 5: Reassemble the Vape
After the new coil is installed, reassemble the rest of the vape. Ensure all parts are properly secured and that there are no loose or misaligned pieces.
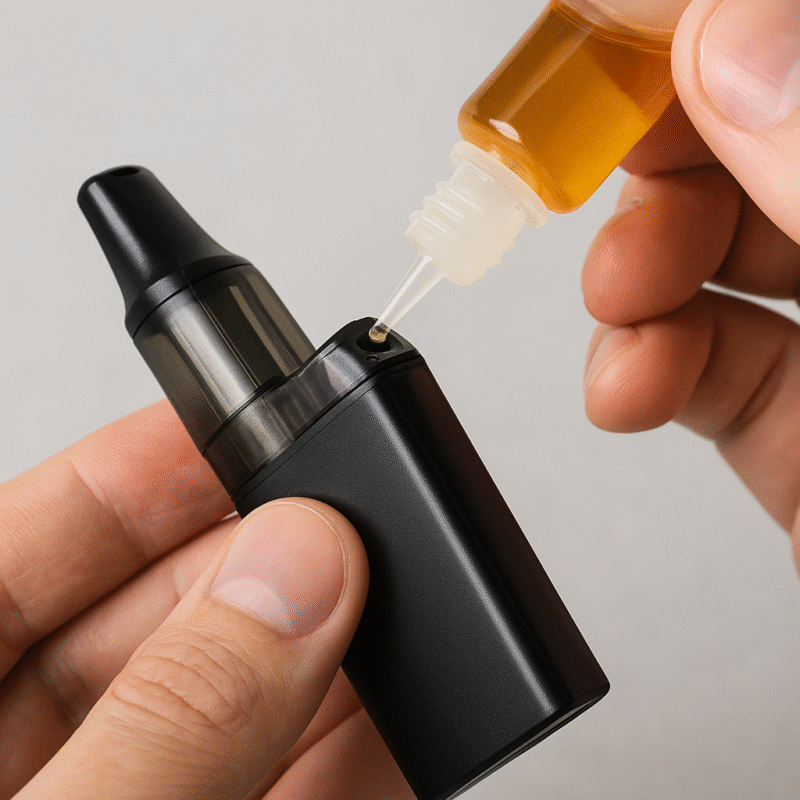
Step 6: Fill the Tank
Fill the e-liquid tank with the appropriate e-liquid for your vape. Be careful not to overfill the tank. Ensure you don’t exceed the maximum capacity to avoid leakage or spillage.
Step 7: Test the Vape
Allow a few minutes for the new coil to absorb the e-liquid fully. Press the start button to test the coil. If everything works fine, you can begin enjoying your freshly replaced coil and a smooth vaping experience.
FAQ
1. How do I know when to replace my vape coil?
Vape coils need to be replaced regularly, typically every few weeks or after several refills. Signs that your coil needs replacement include a burnt taste, reduced vapor production, or diminished flavor. Regular coil replacement ensures optimal vaping performance.
2. Can I use any coil for my vape?
No, it’s essential to use coils that are compatible with your specific vape model. Using the wrong coil can damage your device or affect its performance. Always check the specifications in the vape’s manual.
3. How long does a vape coil last?
The lifespan of a vape coil depends on how often you use it. On average, a coil lasts anywhere from 1 to 3 weeks. Factors like how often you vape, the wattage, and the type of e-liquid can influence its longevity.
4. Can I clean the coil instead of replacing it?
Some coils can be cleaned and reused, but this depends on the type of coil and how much residue has built up. However, most disposable coils are designed for one-time use and should be replaced after a certain period.
5. How should I dispose of old vape coils?
Old coils should be disposed of responsibly. Check with your local waste disposal service for the best way to dispose of vape coils in your area to ensure proper recycling.
Announcements
- Turn Off Your Vape: Always ensure the vape is turned off before replacing the coil to avoid accidental activation.
- Check Compatibility: Make sure the coil you choose is compatible with your device model.
- Regular Maintenance: Cleaning your vape and replacing coils regularly will extend the device’s life and maintain a great vaping experience.
By following these simple steps, you can easily replace the coil in your vape and ensure that it continues to work like new. If you need more information on purchasing coils or other vape maintenance tips, check out our detailed guide on buying coils for your vape.